Every bakery has fresh bread but there is only one place in the whole world that can produce crusty, warm bread that you can sink your teeth into just minutes out of the oven. That one special place is your own kitchen.
Artisan breads are often seen as so amazing and elusive that only specialty bakeries can produce a true loaf. It has not has always been that way. There was a time when every log home, covered wagon and sod grass hut had homemade bread. It was made with whatever ingredients were on hand whether it be milled corn, rye or later on wheat. Only three ingredients were necessary and even those could be changed depending upon what crop was harvested and when. Today, recipes sometimes suggest the precision of a scale but in days when bread was made in every home, flour was more likely measured by handfuls before measuring cups and spoons or scales were available. It was and still is a simple process: Wild yeast was introduced into a grain and water mixture. The gasses this produces leavens the bread. This type of dough takes time and develops a complex depth of flavor. Nothing more complicated than mixing flour, salt and water.
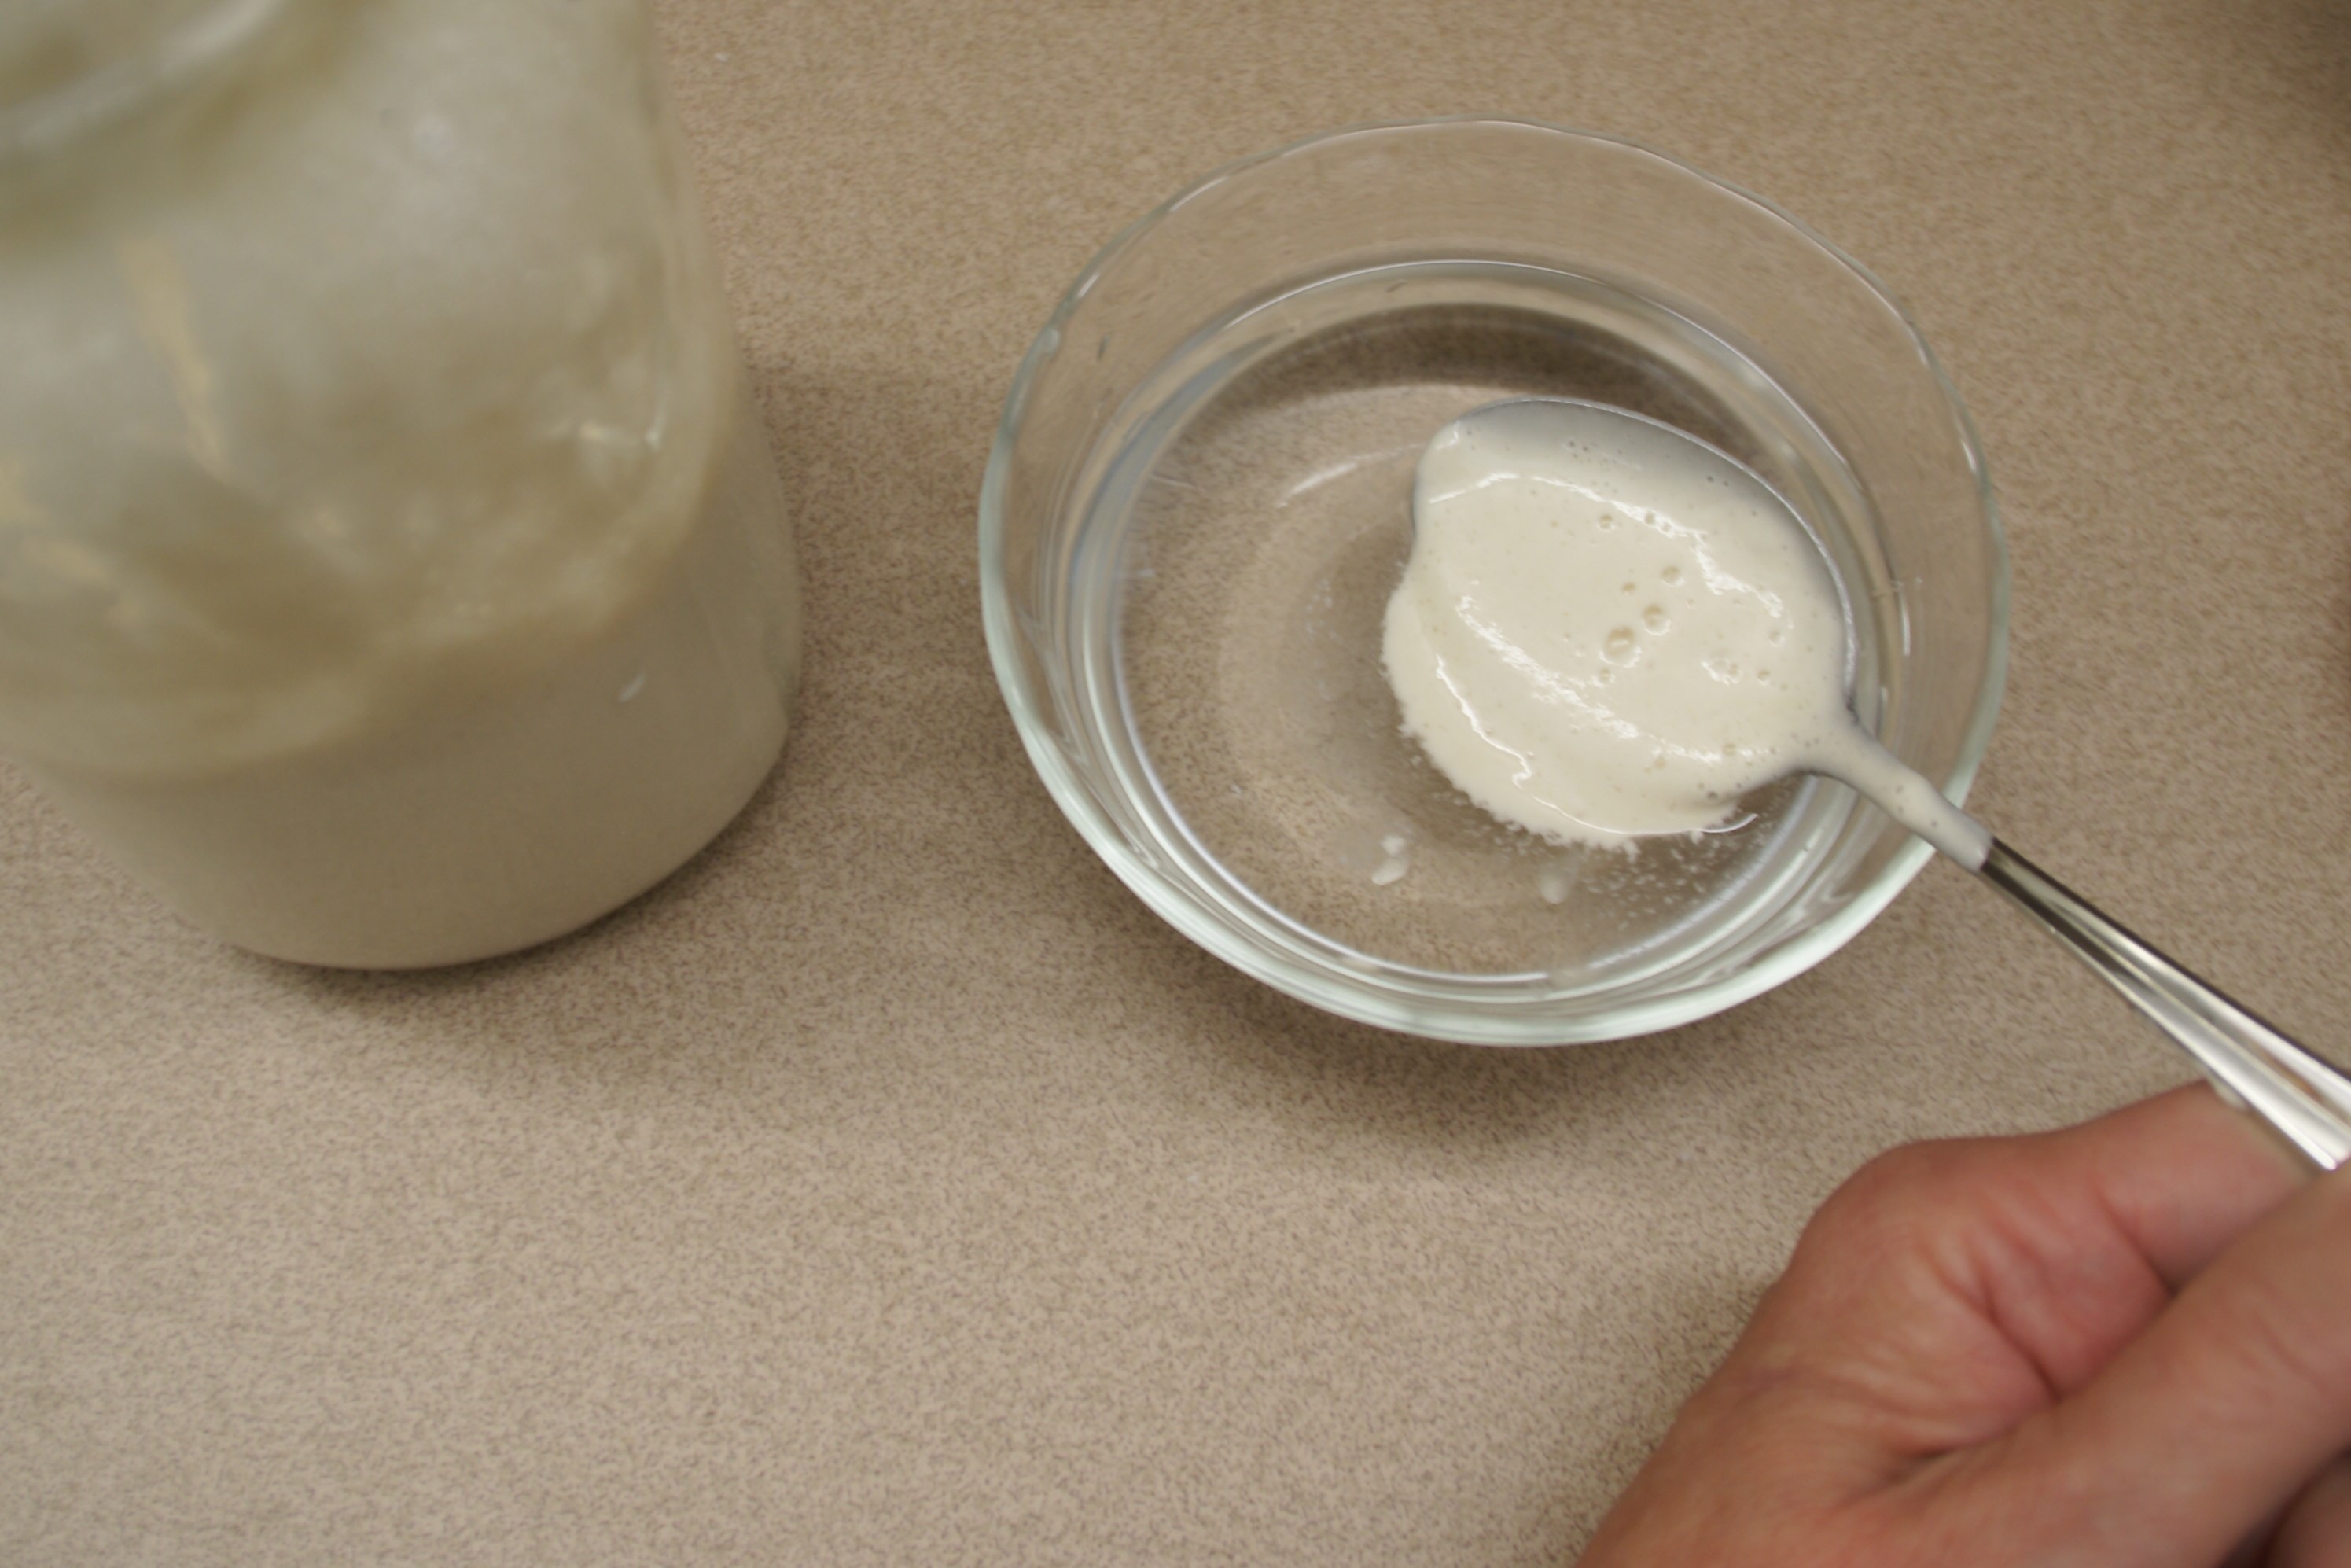
Making bread today can be just as easy. Use any combination of grains for a variety of different loaves. They all start with the same fermented flour and water mixture. Below is a photo of the flour and water mixture when bubbles break the surface after the mixture has started fermenting.

Starter can be made with 1/2 cup water and 1/2 cup of all-purpose flour with 2 tablespoons of whole wheat, rye or spelt flour added. Combine flours and water in a mason jar and allow to stand on the counter for a day or two or until bubbles form on the top (I had some bubbles coming to the surface after 30 hours so I was ready to move to the feeding step). To feed starter, add 1/2 cup each of water and flour. Allow to stand for another day or two. Repeat this until a starter is created that can float on water as seen in the photo below. If the starter fills more than half of the mason jar, discard half of the starter before adding more flour and water. I like the consistency of the starter to be similar to a very thick pancake batter but just about any consistency will work.
When your starter walks on water (aka floats on water), it is ready for baking. Combine 1 cup starter and several different grains like 2 tablespoons spelt, oatmeal, wheat germ, rye, or barley. Mix just until a shaggy mass forms either by hand, in a mixer, food processor or bread machine. Let stand for several hours, covered in a greased bowl. Fold the dough over on itself a few times and let stand covered for one hour in a greased bowl. Repeat folding and resting one more time and then the dough is ready to form into a loaf. A bread machine can be used to mix the dough (see the following photo) and then turn off the machine to allow the dough to rest.

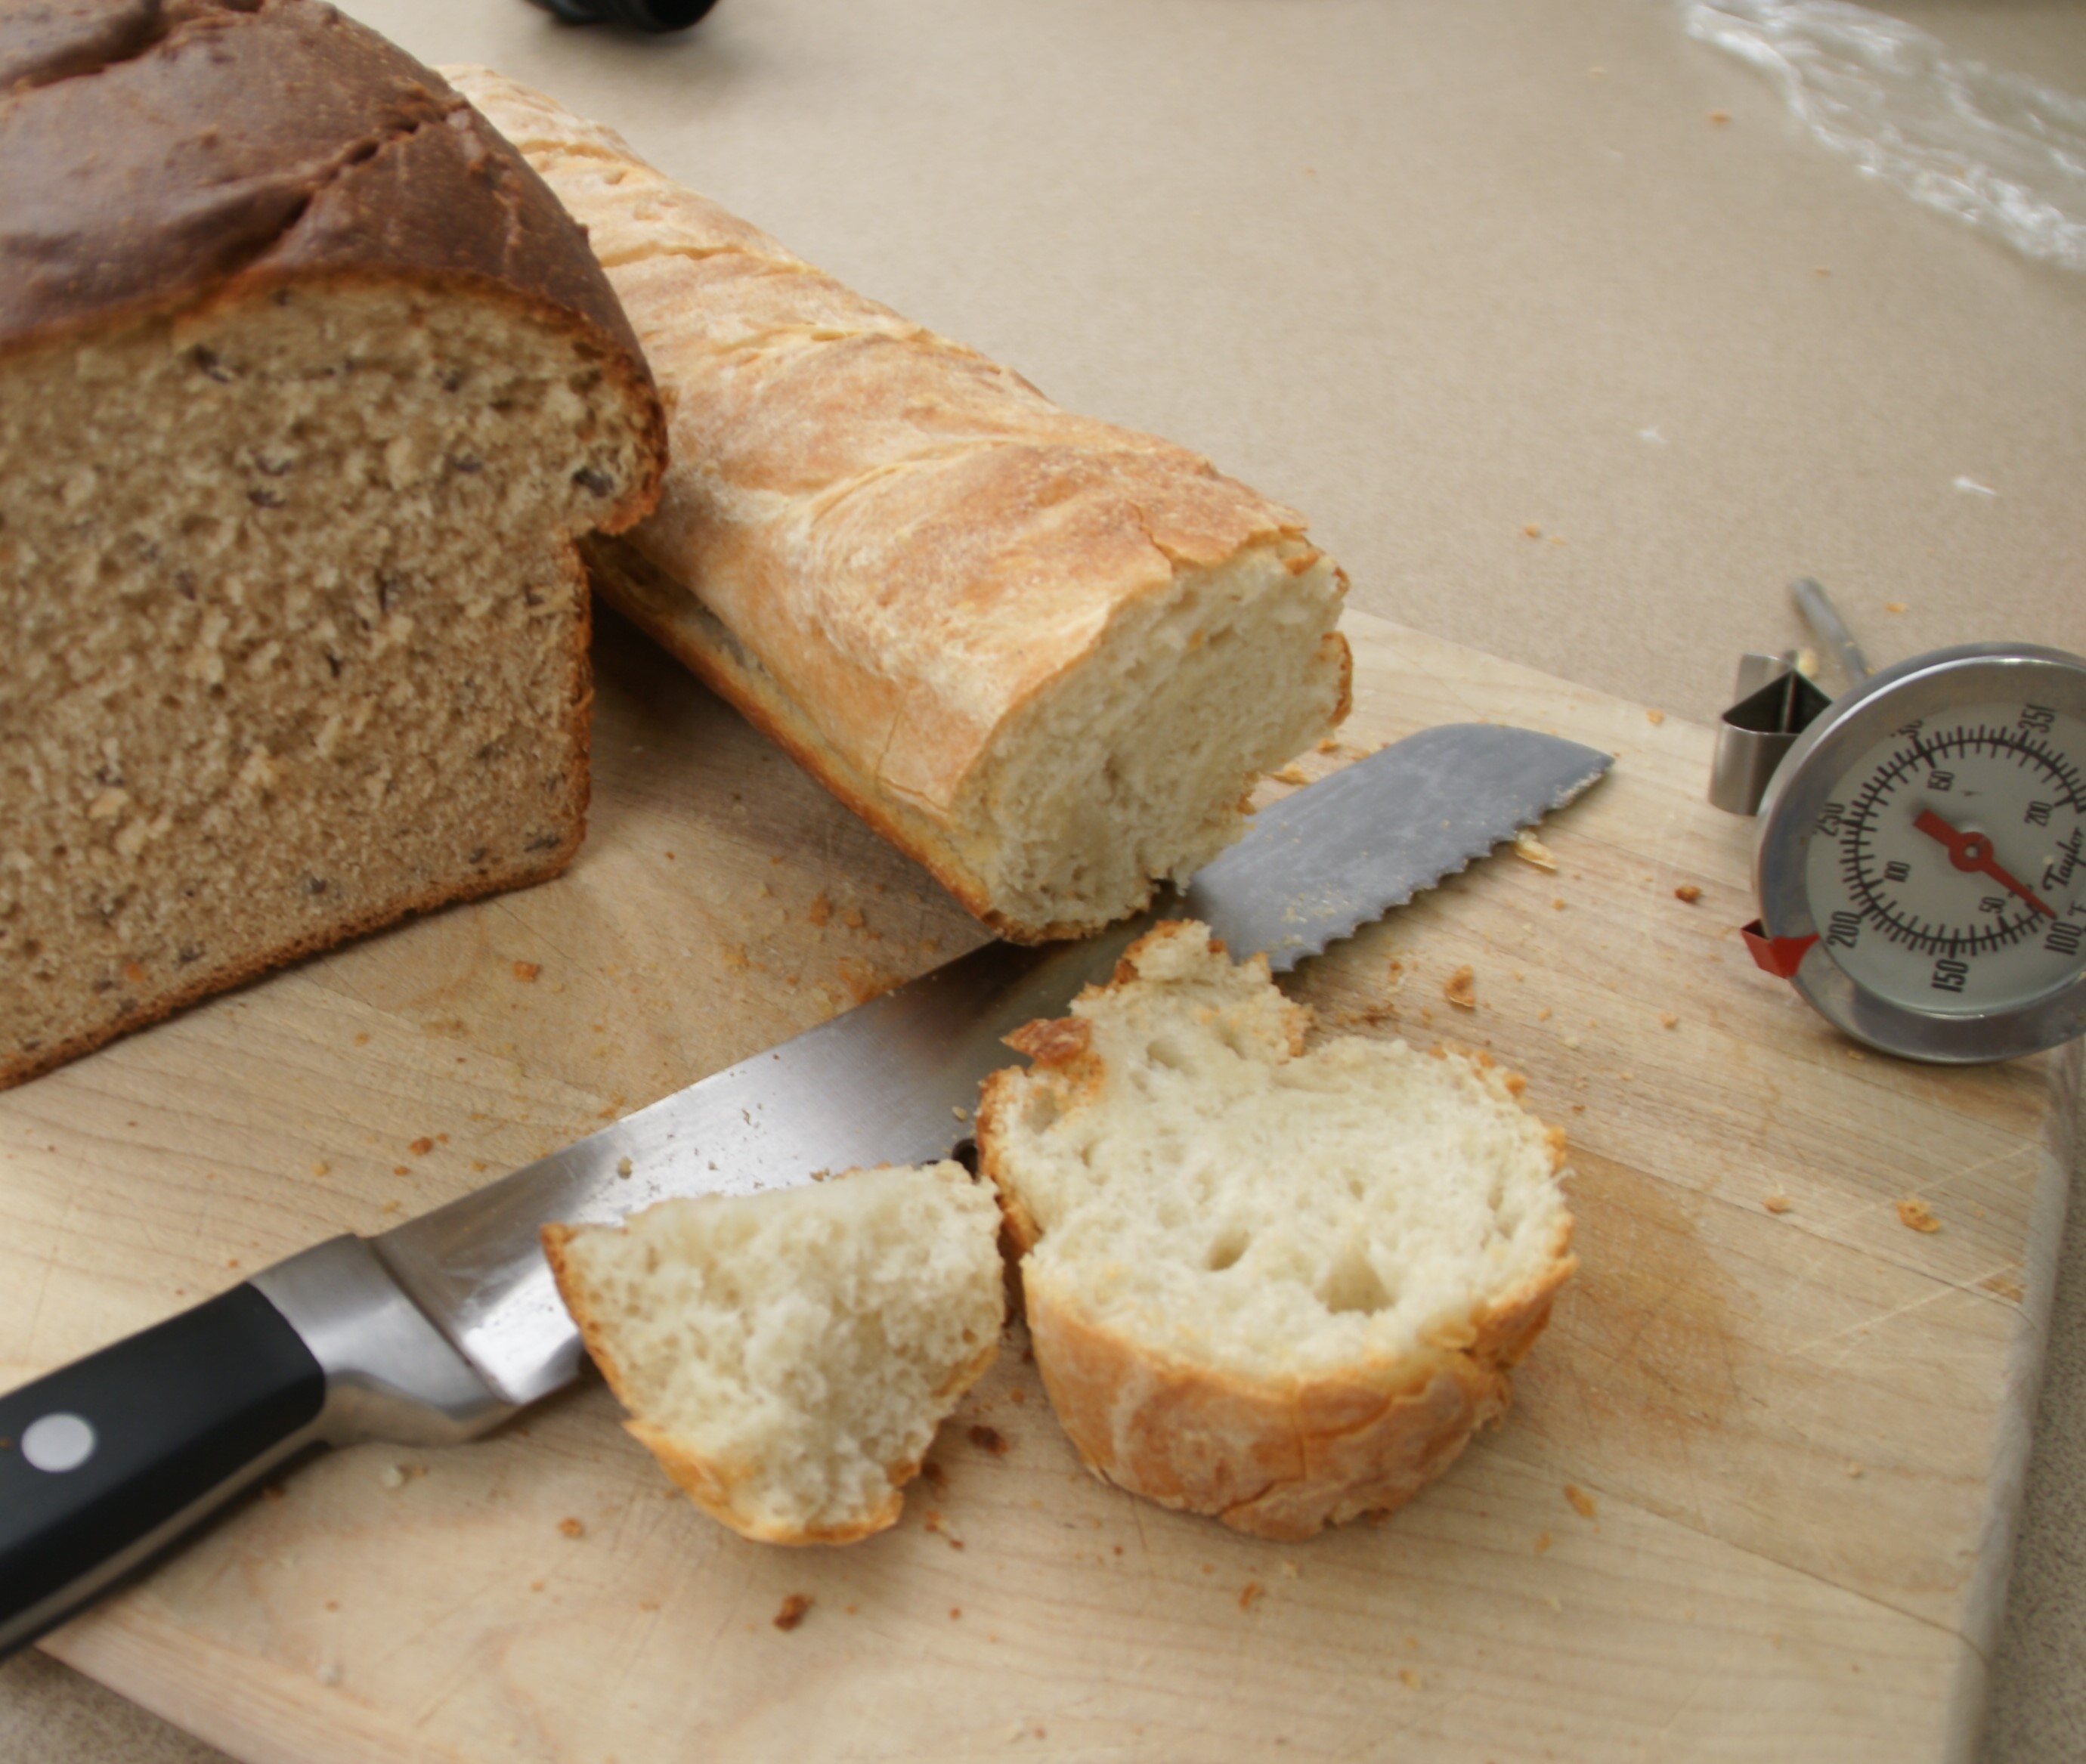
Once the dough has been rested and folded over, gently shape it for French bread or into a ball for artisan whole wheat bread. Let bread rise until almost double in size. It can take 1 to 2 hours in a warm room or over 8 hours in a cool place like the refrigerator. Allow refrigerated bread come to room temperature at least 1 hour before baking. Place a pan in the bottom of the oven while it is preheating and pour boiling water into it just as the loaves are put in the oven. This will create steam and a light, crispy baguette. Bake at 375 degrees on a preheated stone for 30 minutes or until interior of bread reaches 205 degrees. I usually let the bread rise until about 45 minutes or one hour before serving time so that it is coming out of the oven just in time for warm bread to grace the table.
Artisan Bread
1 cup of starter
1 cup water
3 1/2 to 3 3/4 cups flour (white or whole grain or combination)
1 Tablespoon sugar or honey
1 1/2 teaspoons salt
Combine all ingredients in a mixing bowl, using just enough flour to form a wet, shaggy dough. Stir and cover. Let dough sit out on counter in a greased and covered bowl several hours. Fold dough over on itself a few times and let rest 1 hour. Form into two loaves and place on parchment paper and place in a medium-sized bowl. Cover with plastic wrap or damp towel. Let rise several hours or until double in size. Slash the top of each loaf. Meanwhile, preheat a cast iron dutch oven and lid in a 425 degree oven for 1 hour. Move loaves by picking up corners of parchment paper and slide into preheated dutch oven. Cover with preheated lid and reduce temperature to 375 degrees for 15 minutes. Remove cover and bake an additional 15 minutes or until loaf has a hollow sound when tapped. (about 200 degrees F). Serve warm.
